How I Organize My Notes in Notesnook (Notebooks, Tags, Colors & More)
Notesnook gives you notebooks, tags, colors, favorites, and pinning to organize your notes, and you can use any combination of them. That flexibility is one of the reasons I like the app, but it can also feel overwhelming when you are starting out and suddenly have all these options in front of you.
After using Notesnook for a while, I have settled into a system where each feature handles a specific job. Here is how I organize my notes in Notesnook, what I actually use, and what I mostly ignore.
Notebooks and sub-notebooks are the backbone of everything

Notebooks are the first thing you interact with in Notesnook, and they work pretty much how you would expect. They are folders. You click the + icon in the left side panel, give your notebook a name, and start dropping notes into it.
If you are migrating from another app like Obsidian, Evernote, or Joplin, Notesnook’s importer will recreate your existing folder structure automatically, which saves you from having to rebuild everything from scratch.
Where notebooks get interesting is the nesting. Since v3, Notesnook lets you create notebooks inside other notebooks, so you can build out a layered structure without it feeling flat. I have a notebook for “Research,” for example, with sub-notebooks for different topics underneath it. When I write something new, I just drop it into the right sub-notebook. And because Notesnook lets a single note live in multiple notebooks, I do not have to duplicate anything if a note fits in more than one place.
Two settings that most people miss here are Homepage and Default Notebook.
Homepage lets you pick one notebook as your landing view every time you open the app. Right-click any notebook in the left panel and select “Set as Homepage.” I use this for whatever project I am actively working on, so I do not have to navigate to it every time I launch Notesnook.
Default Notebook is where all newly created notes go automatically. Same right-click menu, just select “Set as Default.” Think of it like an inbox. Everything lands there first, and I move notes to the right notebook later when I have a moment. It keeps things from floating around in no particular location.
Color coding is the most underrated feature
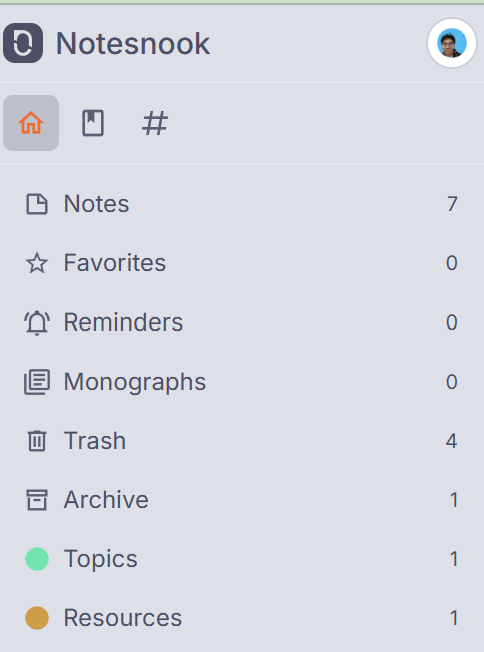
I did not expect to use colors as much as I do, but they have become one of my favorite parts of Notesnook.
The idea is simple. You assign a color to a note, and that color shows up both on the note itself and as a filter in the left side panel. Click the color, and you see every note tagged with it. It is basically another layer of organization that sits on top of your notebooks and tags.
What I like about it is the visual element. When I am scrolling through a long list of notes, my eyes naturally catch the colors before I even read the titles. If you use Notesnook’s dark theme, this effect is even more noticeable because the colors really stand out against the dark background.
To add a color on the desktop, hover over a note, right-click, and select Add Color. You can name a new color right there or pick one you already created. On mobile, tap the three vertical dots at the top right corner of the note and do the same thing.
I also use colors as a way to create a quick-access section for important reference notes and links. Instead of dumping everything into Favorites and cluttering that section, I give those notes a specific color and access them from the left panel. It keeps things cleaner.
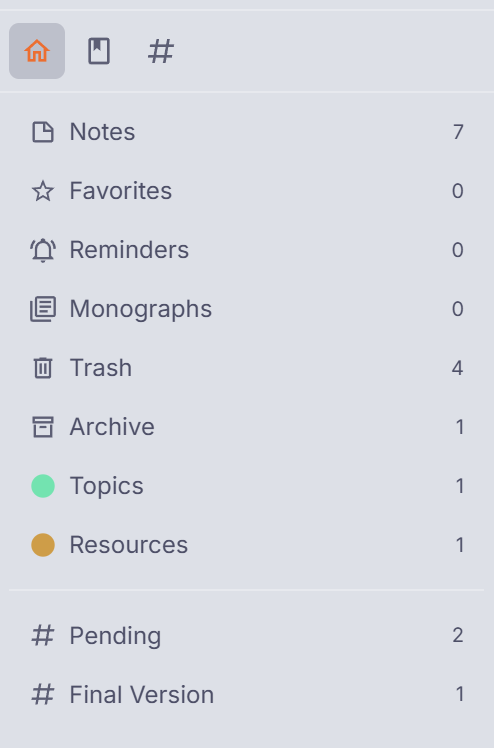
I only use tags for one thing: tracking statuses
I am not a tag person. I have seen too many note-taking setups where people create dozens of tags and then never use half of them. Tags can get messy fast if you do not have a clear purpose for them.
In Notesnook, I keep it simple. I use tags almost exclusively for tracking the status of my work. I have a #Pending tag that I apply to every article or piece of content I am currently working on. When I want to see what is on my plate, I click that tag and get a filtered view of everything in progress. That is it.
Tags work similarly to notebooks and colors in that you can apply multiple tags to a single note, so cross-referencing is possible if you need it. A note could have both #Pending and #FinalVersion on it, and you would be able to find it from either tag.
To create a tag, click the # icon in the left panel and hit the + button. If you want that tag to always be visible in your sidebar, create a shortcut for it. Otherwise, it lives under the tags section, and you have to go looking for it.
Favorites is fine, but I barely touch it
Notesnook has a Favorites section where you can star notes for quick access. It works exactly how you would expect.
I just do not use it much. Once you have notebooks set up properly and you are using colors and maybe a tag or two, Favorites starts to feel like a layer you do not really need. Everything I would put in Favorites is already accessible through one of those other methods.
The one exception is if you have a handful of notes you open literally every day, regardless of context. Maybe a daily checklist, a reference document, or a running list of ideas. Starring three or four notes like that is fine. But the moment you start adding fifteen or twenty notes to Favorites, it stops being useful and just becomes another list to scroll through.
Pinning keeps important notes from getting buried
Pinning is the simplest feature on this list, but it solves a very specific problem. If you have a note that you need at the top of your notebook or notes list and you do not want it getting pushed down every time you create something new, pin it.
You can pin from the notes list by right-clicking and selecting Pin, or from inside the note itself using the three-dot menu in the top right corner. Works the same on mobile.
I would just caution against pinning too many notes. One or two per view is the sweet spot. Once you have five or more pinned notes sitting at the top, they take up real estate and start competing with the notes you are actively working on. If you find yourself wanting to pin that many, you are probably better off creating a dedicated notebook or color for them instead.
The trick is giving each feature a specific job
The reason my setup works is not because I use every feature Notesnook offers. It is because each feature handles one thing.
Notebooks give me structure, and they tell me where a note lives. Tags tell me what stage a note is in. Colors give me a visual shortcut to find things fast without clicking into anything. Favorites hold my absolute daily essentials. Pinning keeps one or two active notes visible at the top.
This also makes Notesnook’s search way more useful. When your notes are already sorted into clear notebooks with consistent tags, finding something usually takes one or two keywords instead of scrolling through a wall of unsorted notes trying to remember where you put something.
None of these features overlap in my workflow, and that is the key. The moment you start using tags and colors and notebooks to do the same thing, you end up with a system that takes more effort to maintain than it saves. Pick a lane for each feature, stick with it, and the organization takes care of itself.